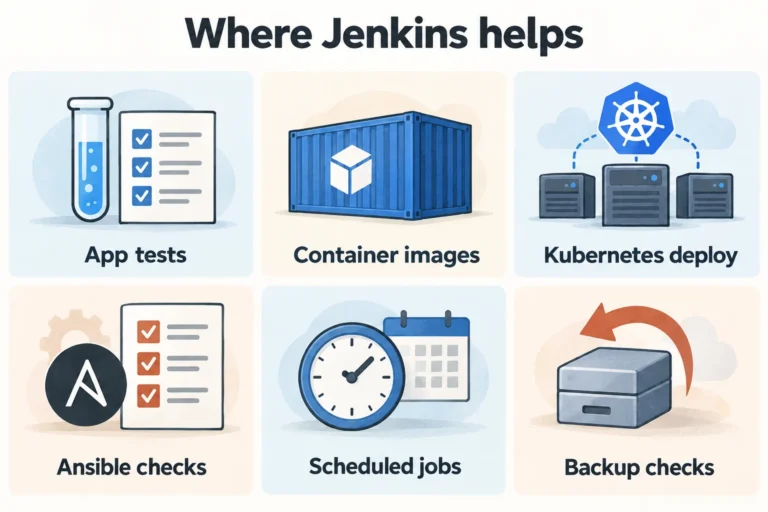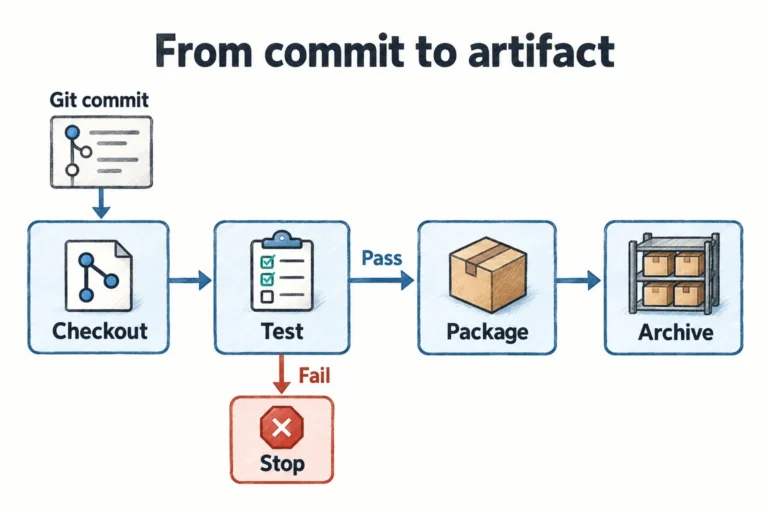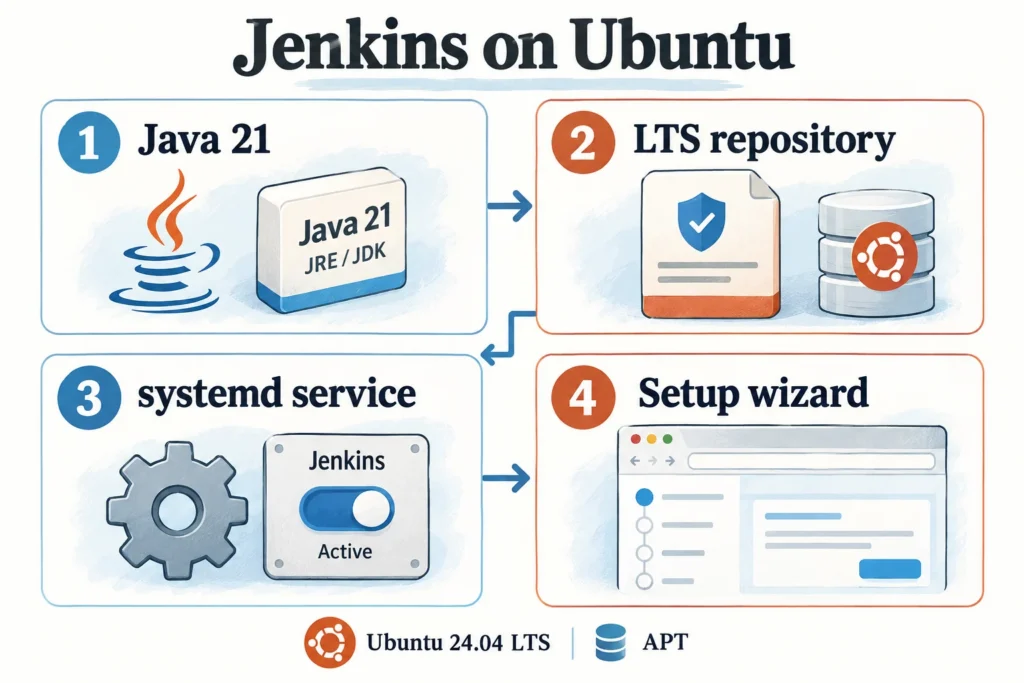
Jenkins runs recorded automation steps and keeps their results. A small workflow can fetch source code, run tests and pass a verified artifact to the next stage. Begin by installing Jenkins LTS on Ubuntu and checking how the service and initial web access are configured.
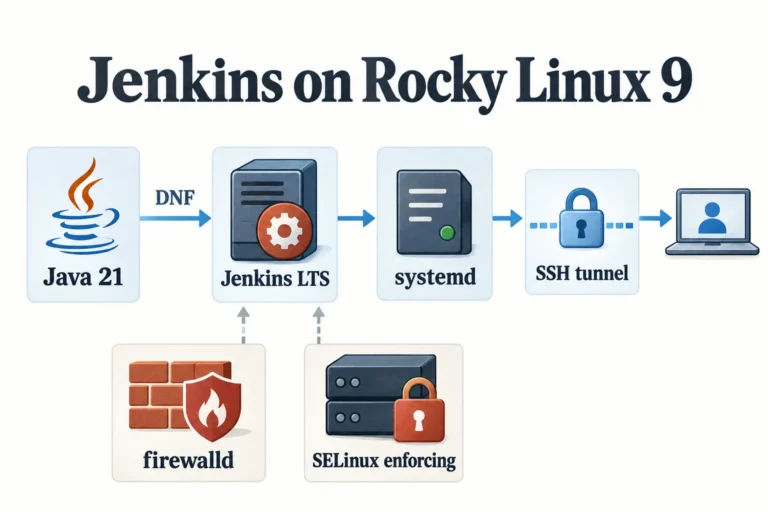
This article is the process of installing Ubuntu 24.04 LTS on a separate learning VM. If you are using Rocky Linux 9, go to 02 Install Rocky Linux 9. Configurations that add Jenkins to a blog server running an existing service are not subject to installation in this series.
Getting started with Jenkins · 01 Installing Ubuntu · 02 Installing Rocky Linux 9 · 03 First job and Pipeline · 04 Utilizing automation
On this page
What configuration to make
CI (Continuous Integration) is a flow that frequently merges changed code and quickly finds problems through build and testing. CD refers to continuous delivery or continuous deployment, depending on the context. Prepare deliverables that can be distributed and determine whether they will be approved by humans or automatically reflected in operations. Installing Jenkins alone does not determine this procedure.
The Jenkins to install is Controller, which manages the jobs. The actual build is linked in Part 3 to run on a separate agent, . Splitting these roles in practice also makes it less confusing when build tools or deployment permissions increase later.
| item | Standards for this article |
|---|---|
| operating system | Ubuntu Server 24.04 LTS, sudo capable account |
| Java | OpenJDK 21 Runtime |
| Jenkins | Using LTS repositories. The latest LTS, as of October 18, 2026, is 2.580.1 |
| VM resources | Training starting values: 2 vCPU, 4GB RAM, 50GB disk. Adjust based on build load and storage volume |
| Address example | Controller 192.168.56.20 / Agent 192.168.56.31 |
| Browser access | Open an SSH tunnel and use http://127.0.0.1:18080 on your PC |
LTS is a good starting point for managing the extent of change during operations. Rather than fixating the number itself for a long time, check the LTS change history of the installation date and the upgrade instructions. The current runtime support list includes Java 21 and 25, and the JDK version on which you build your application can be managed separately from the Jenkins runtime. Based on Java Support Policy, Java 21 is used in this article.
1. Check the operating system and Java first.
cat /etc/os-release
uname -m
df -h /
free -h
sudo apt update
sudo apt install -y ca-certificates curl fontconfig openjdk-21-jre git
java -version
At java -version, check if the major version is 21. The patch number varies depending on the time of update. Jenkins is a program that runs in Java, so you need to prepare Java first so it can find the executable to use when the service starts.
If you have other applications using Java 17, don’t just change the system default Java. You can specify JAVA_HOME or JENKINS_JAVA_CMD only for Jenkins services. After installation, check the environment variables and actual path supported by systemctl cat jenkins.
2. Register the official LTS repository and signing key
sudo install -d -m 0755 /etc/apt/keyrings
sudo curl -fsSLo /etc/apt/keyrings/jenkins-keyring.asc \
  https://pkg.jenkins.io/debian-stable/jenkins.io-2026.key
sudo chmod 0644 /etc/apt/keyrings/jenkins-keyring.asc
printf '%s\n' \
  'deb [signed-by=/etc/apt/keyrings/jenkins-keyring.asc] https://pkg.jenkins.io/debian-stable binary/' \
  | sudo tee /etc/apt/sources.list.d/jenkins.list >/dev/null
sudo apt update
apt-cache policy jenkins
signed-by specifies the key against which to check the signature of this repository. Do not mix the apt-key format from old posts or key addresses with old years. If there is a signature error in apt update, do not proceed to the next step but check the storage address, key file, and server time first. The installation command comes from Jenkins Linux Installation Documentation.
3. Determine the connection scope and install Jenkins
In the lab, Jenkins’ HTTP port is opened only inside the server and connected via SSH. Create a drop-in file before installation so that the package reads these settings when automatically starting the service.
sudo install -d -m 0755 /etc/systemd/system/jenkins.service.d
sudo tee /etc/systemd/system/jenkins.service.d/override.conf >/dev/null <<'EOF'
[Service]
Environment="JENKINS_LISTEN_ADDRESS=127.0.0.1"
EOF
sudo apt install -y jenkins
dpkg-query -W -f='${Package} ${Version}\n' jenkinssudo systemctl daemon-reload
sudo systemctl enable --now jenkins
sudo systemctl restart jenkins
sudo systemctl status jenkins --no-pager -l
sudo ss -ltnp '( sport = :8080 )'Check the active (running) and 127.0.0.1:8080 listens together. If you determine a browser problem based solely on the indication that the service is running, it is easy to miss situations where connections are made from a different address or port.
The environment settings are placed in /etc/systemd/system/jenkins.service.d/override.conf instead of modifying the original unit of the distribution. Even if you update the package, you can manage your settings separately. Jenkins systemd management document also provides guidance on the drop-in method.
4. Open an SSH tunnel on your PC and connect.
Run the command below in a terminal on the PC running your browser. On Windows 11, PowerShell with the OpenSSH client is suitable. Replace labadmin and the IP address with the Jenkins VM’s actual account and address.
ssh -N -L 18080:127.0.0.1:8080 labadmin@192.168.56.20Leave this terminal open and connect to http://127.0.0.1:18080. The structure is such that the PC’s connection number 18080 is transmitted to number 8080 inside the VM through SSH. In this configuration, there is no need to additionally open 8080 in the VM firewall, and the VM’s SSH port must be accessible from the PC.
When you close the tunnel, it is normal for your PC to not be able to connect to that address. Afterwards, when preparing an address for the team to use, we attach HTTPS reverse proxy and access control and change the Jenkins URL to that address. Please use the localhost address only for this personal practice connection.
5. Set initial password and administrator account
sudo cat /var/lib/jenkins/secrets/initialAdminPassword- Enter the initial password printed on the screen Unlock Jenkins. This value will not be copied to public posts, screenshots, or chat.
- If this is your first time, start with Install suggested plugins and check the actual installed list after completion.
- Create a separate administrator account. Automation work accounts and administrator accounts are managed separately.
- The Jenkins URL for your personal practice is set to the address used in the current browser. Once we have the public operating address ready, we will change it at that time.
- Manage Check Git, Pipeline, SSH Build Agents, and Credentials Binding in Jenkins → Plugins. You don’t need to install a bunch of plugins first for features that aren’t in the following exercises.
Once you have created an administrator account, the first part of the installation is complete. Since the agent has not been attached yet, after connecting the agent in part 3, change the number of executors in the controller to 0 and run the task.
What to check when you can’t connect
| symptoms | Where to see first |
|---|---|
| Service terminated immediately | Java version/file permission/port conflict message from journalctl |
| SSH tunnel creation failed | PC crash number 18080, VM address, SSH login availability |
| Tunnel is open but connection is refused | Is Jenkins listening to 127.0.0.1:8080 on the VM? |
| Plugin download failed | VM’s DNS/Time/External HTTPS connection/In-house proxy/CA |
| apt signature error | 2026 key address and signed-by path. Not bypassed by option to turn off verification |
sudo journalctl -u jenkins -b -n 100 --no-pager
sudo systemctl cat jenkins
sudo ss -ltnp '( sport = :8080 )'
curl -I http://127.0.0.1:8080/login
timedatectl status
If number 8080 is already used by another service, you can add Environment="JENKINS_PORT=8081" to Jenkins drop-in instead of arbitrarily terminating that service. After making changes, you must restart the service and change the destination port of the SSH tunnel.
Next is the first task 03 and Pipeline. Let’s get past the installation screens and see which account and machine the command is actually running on.